Upgrading to Lightroom
So… let’s quickly recap since it’s been a couple months since I posted anything. My PC finally died (which was really Amanda’s old PC because my last PC died first, and I just adopted hers). Got a new PC. Picked up a copy of Adobe Lightroom with my nonprofit discount because as it may be apparent, it takes me a long friggin’ time to post process all the photos I take. I have tons that I have yet to really even look at, much less post. I was using the painful process of shooting RAW, adjust and convert using Canon’s Digital Photo Pro, then tweak for web and style in Picasa. Stop laughing, professional photographers, I know. So, besides needing something to speed up the workflow, I badly needed some better tools, as while I’m often happy with the shots coming out of the camera, I’ve been disappointed in my ability to really do what I wanted to do with them in post.
Enter Lightroom.
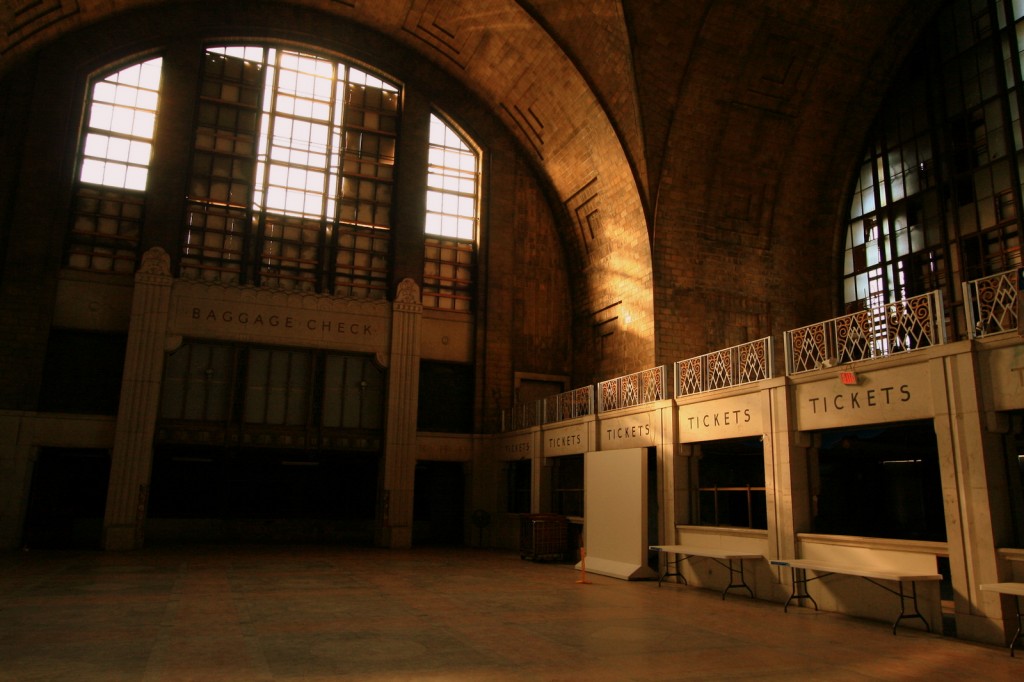
So I actually spent a couple hours going through some of Adobe’s online tutorials to get some insight into how to really use the tool. Very helpful. I learned all sorts of things I would have never discovered on my own. Then I set off to adjust a photo of the Terminal that I love, but hated certain aspects of. Here it is:
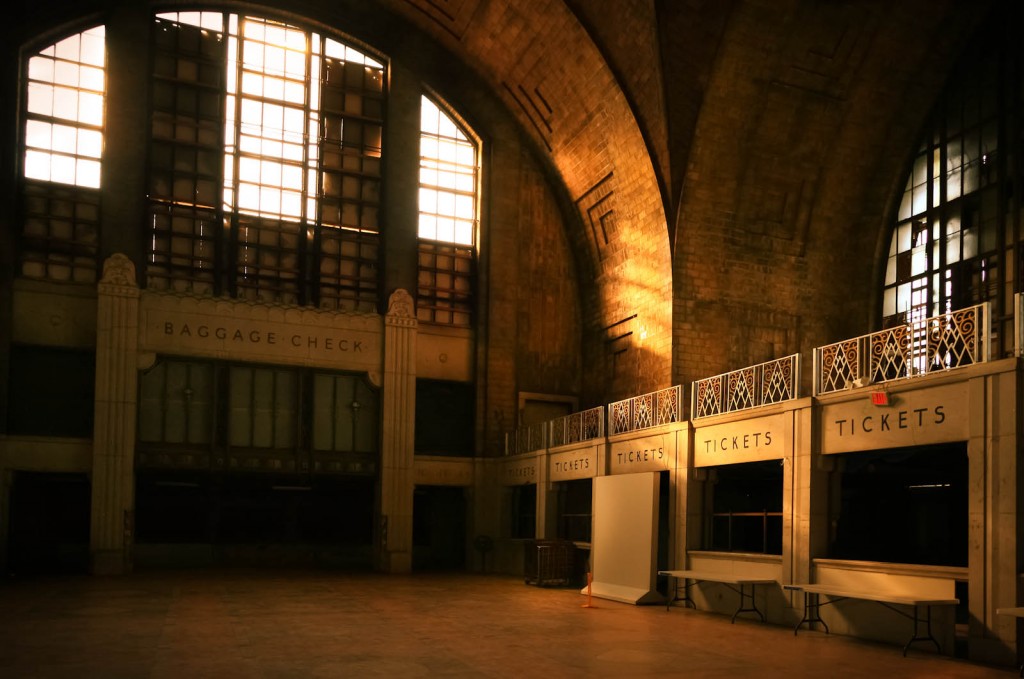
 Love the tone, hate the noise and the darkness of the Baggage Check arch. So, I tried out a multitude of Lightroom tweaks and got this:
 I could easily fix the perspective distortion, the chromatic aberration and the luminance noise, perk up some of the darker areas, and easily add back in the lens’ vignetting after adjusting the cropping. Not bad for a first time shot at using Lightroom!
Next up… transferring it to Photoshop to remove that damn EXIT sign…
You are quickly going to be kicking yourself for not getting Lightroom ages ago. From now on you won’t be able to process without it. Don’t be afraid of the clarity and vibrance sliders. Have you been here yet? http://kelbytv.com/lightroomkillertips/